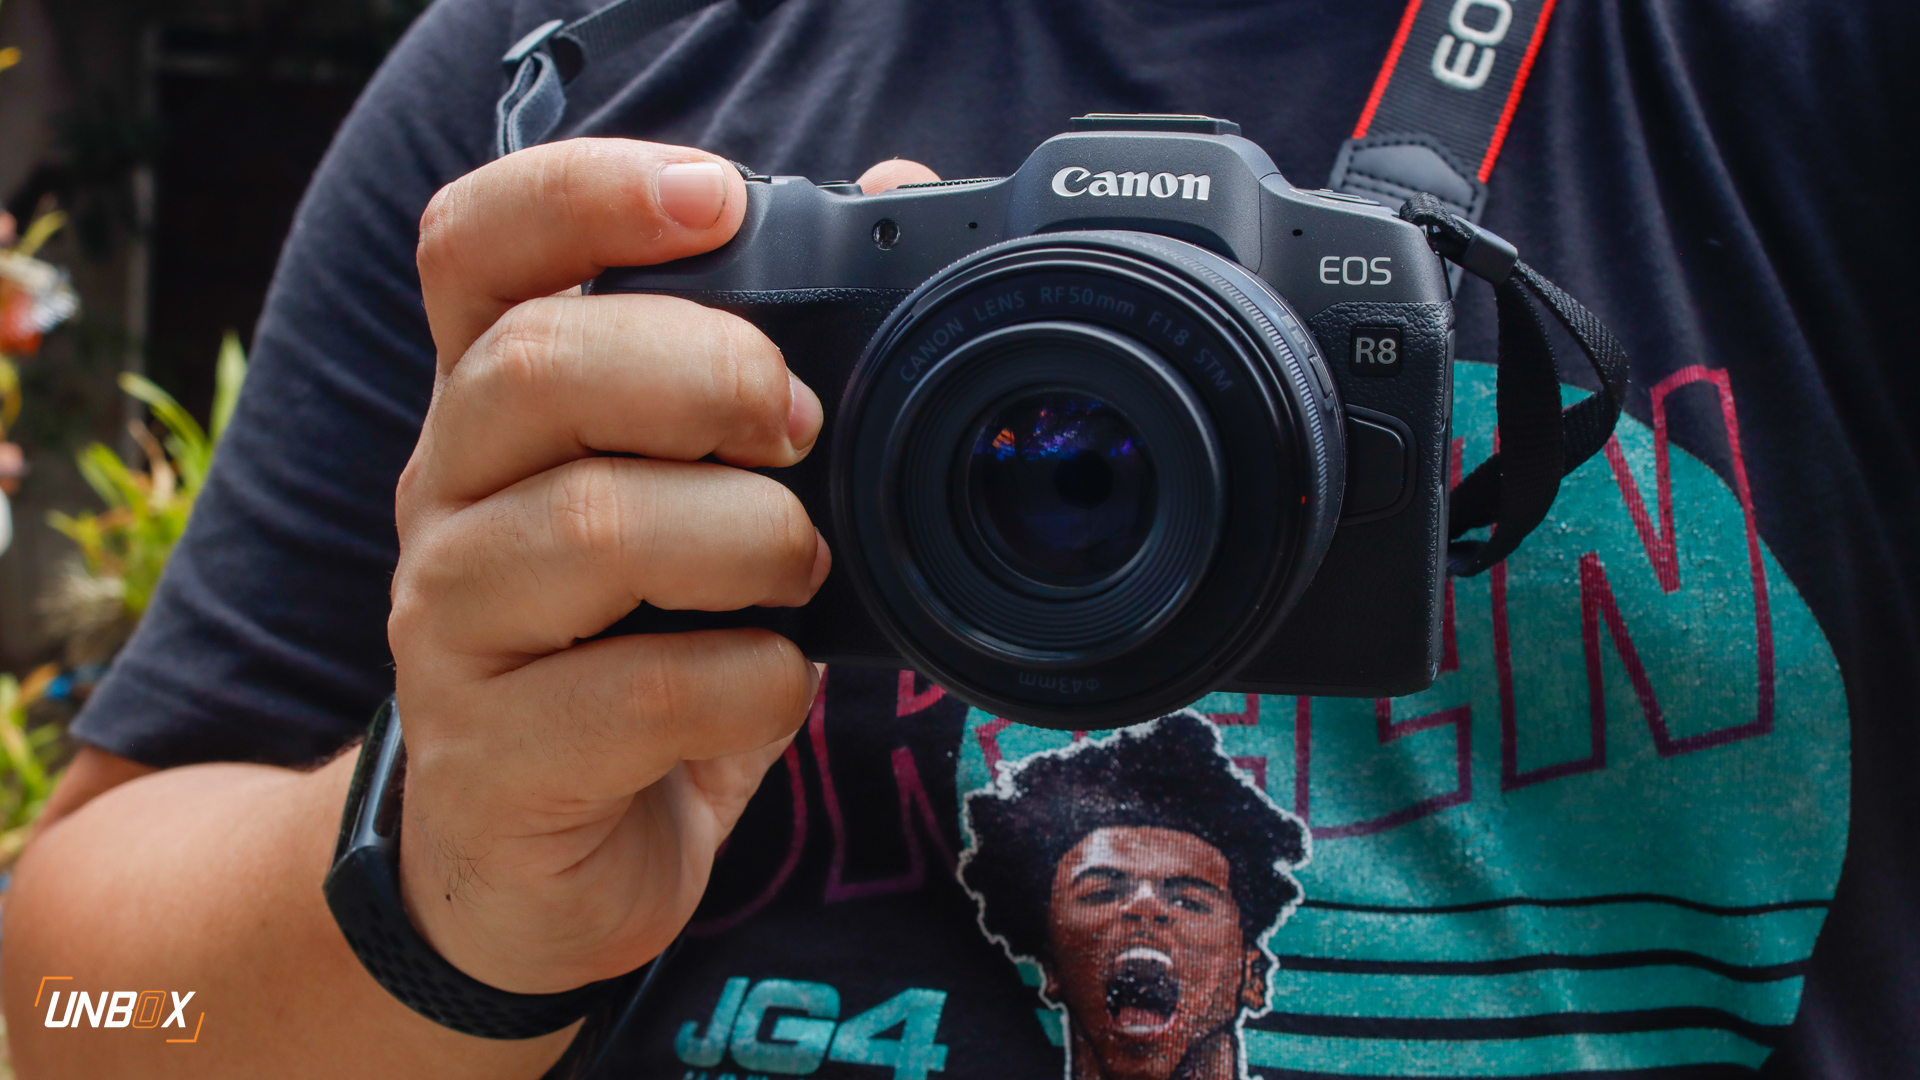
Adobe recently rolled out a new feature for Lightroom Classic called AI Denoise. Different from the usual noise reduction tools Lightroom Classic has to offer, AI Denoise takes things a step further by utilizing the power of AI to intelligently reduce noise on the image–regardless of how high the ISO was used. AI Denoise is part of Lightroom Classic’s April 2023 (12.3) release, and most users who have at least Adobe’s Photography Plan should be getting this new feature as of writing this article.
How good is Lightroom Classic’s AI Denoise?
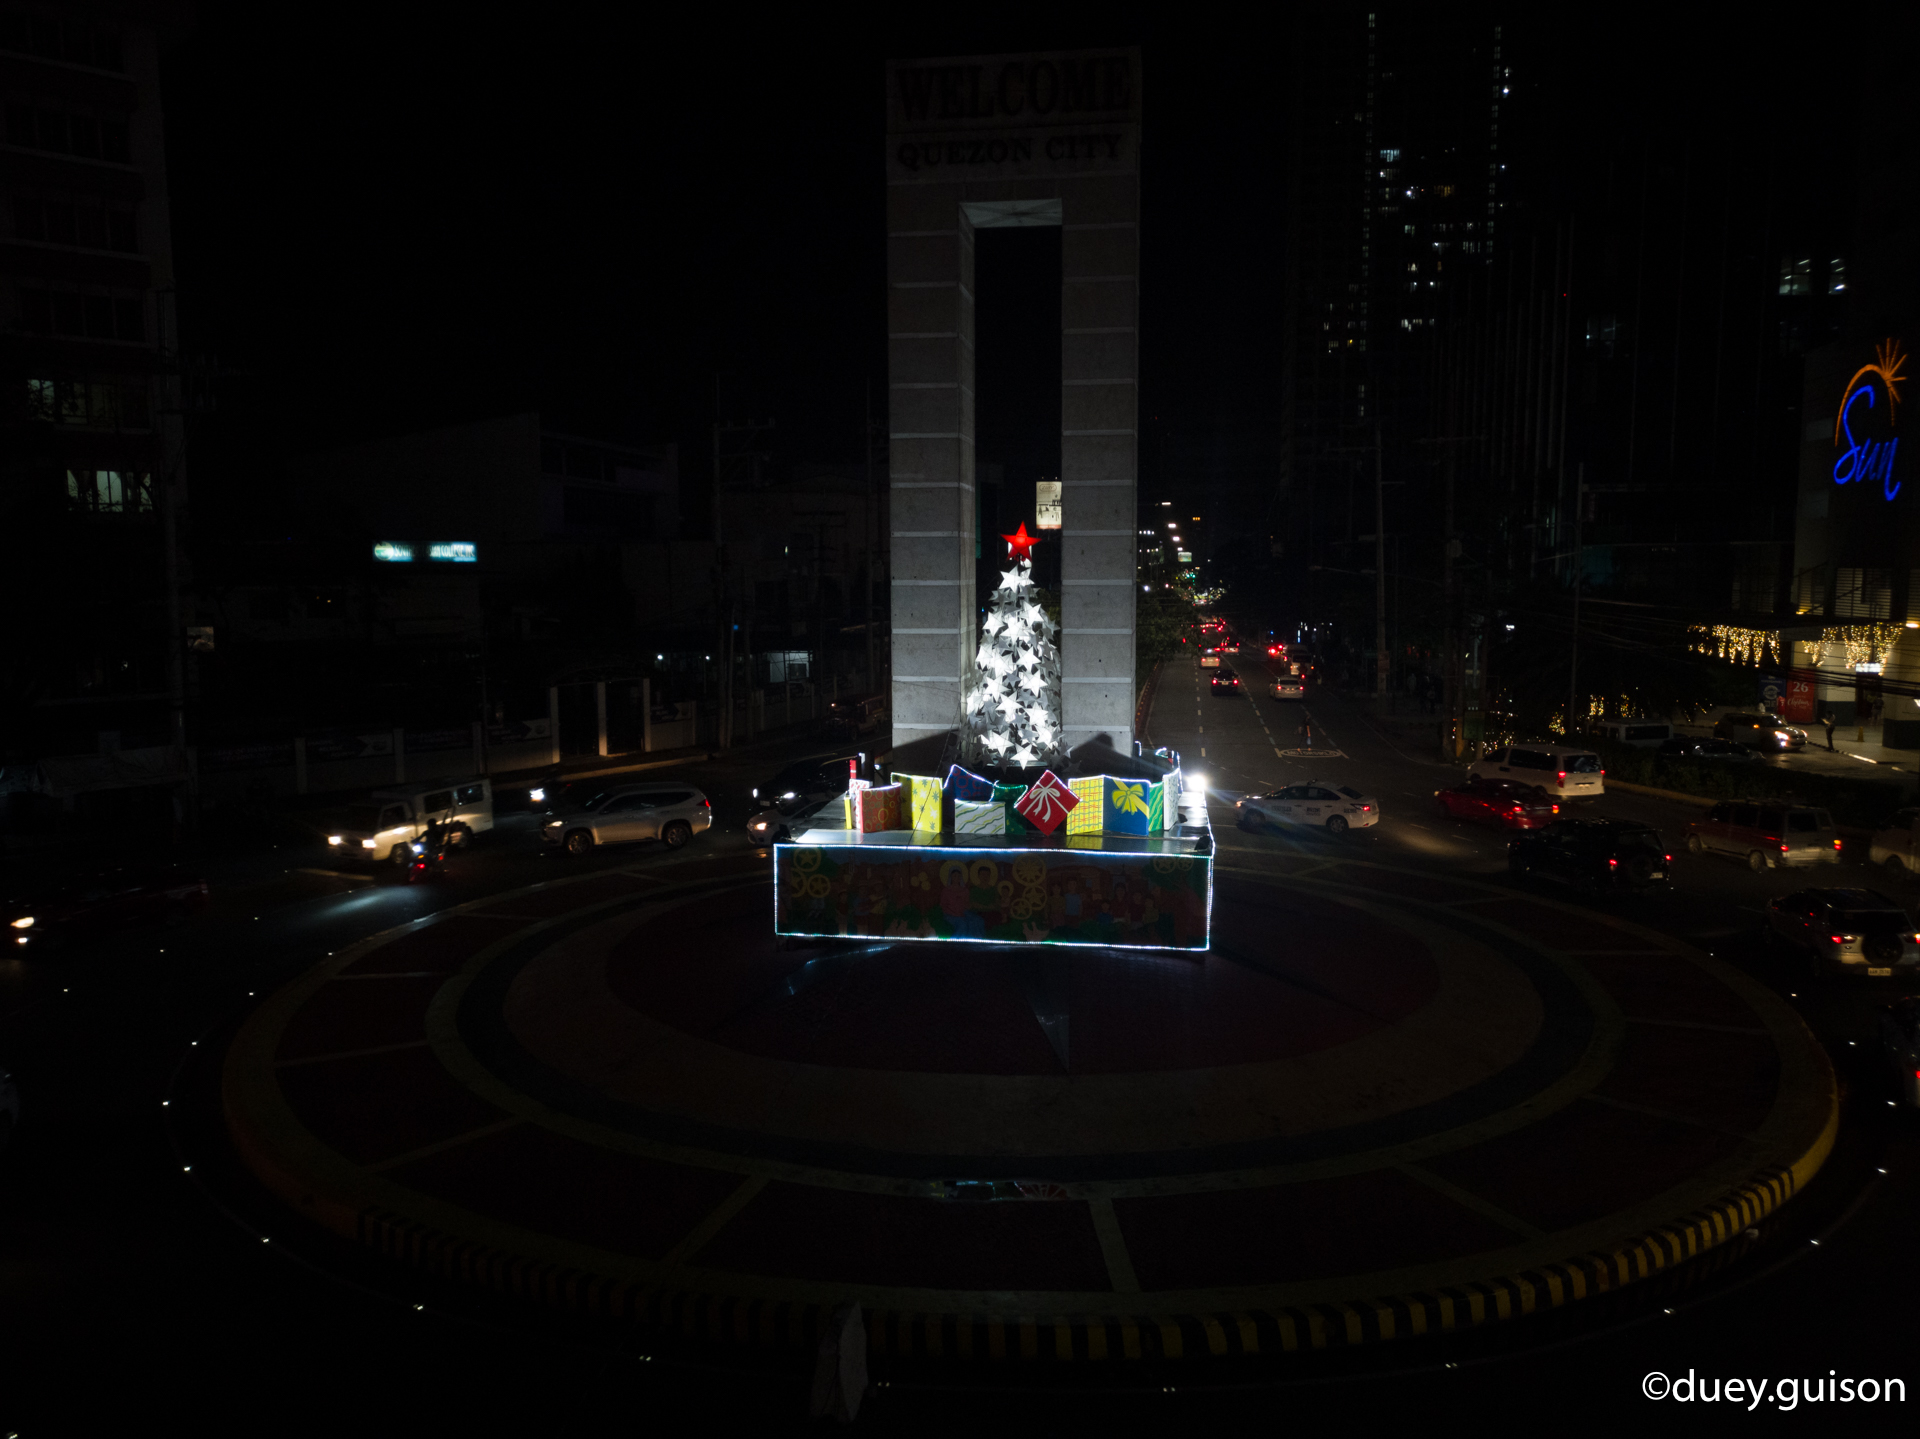
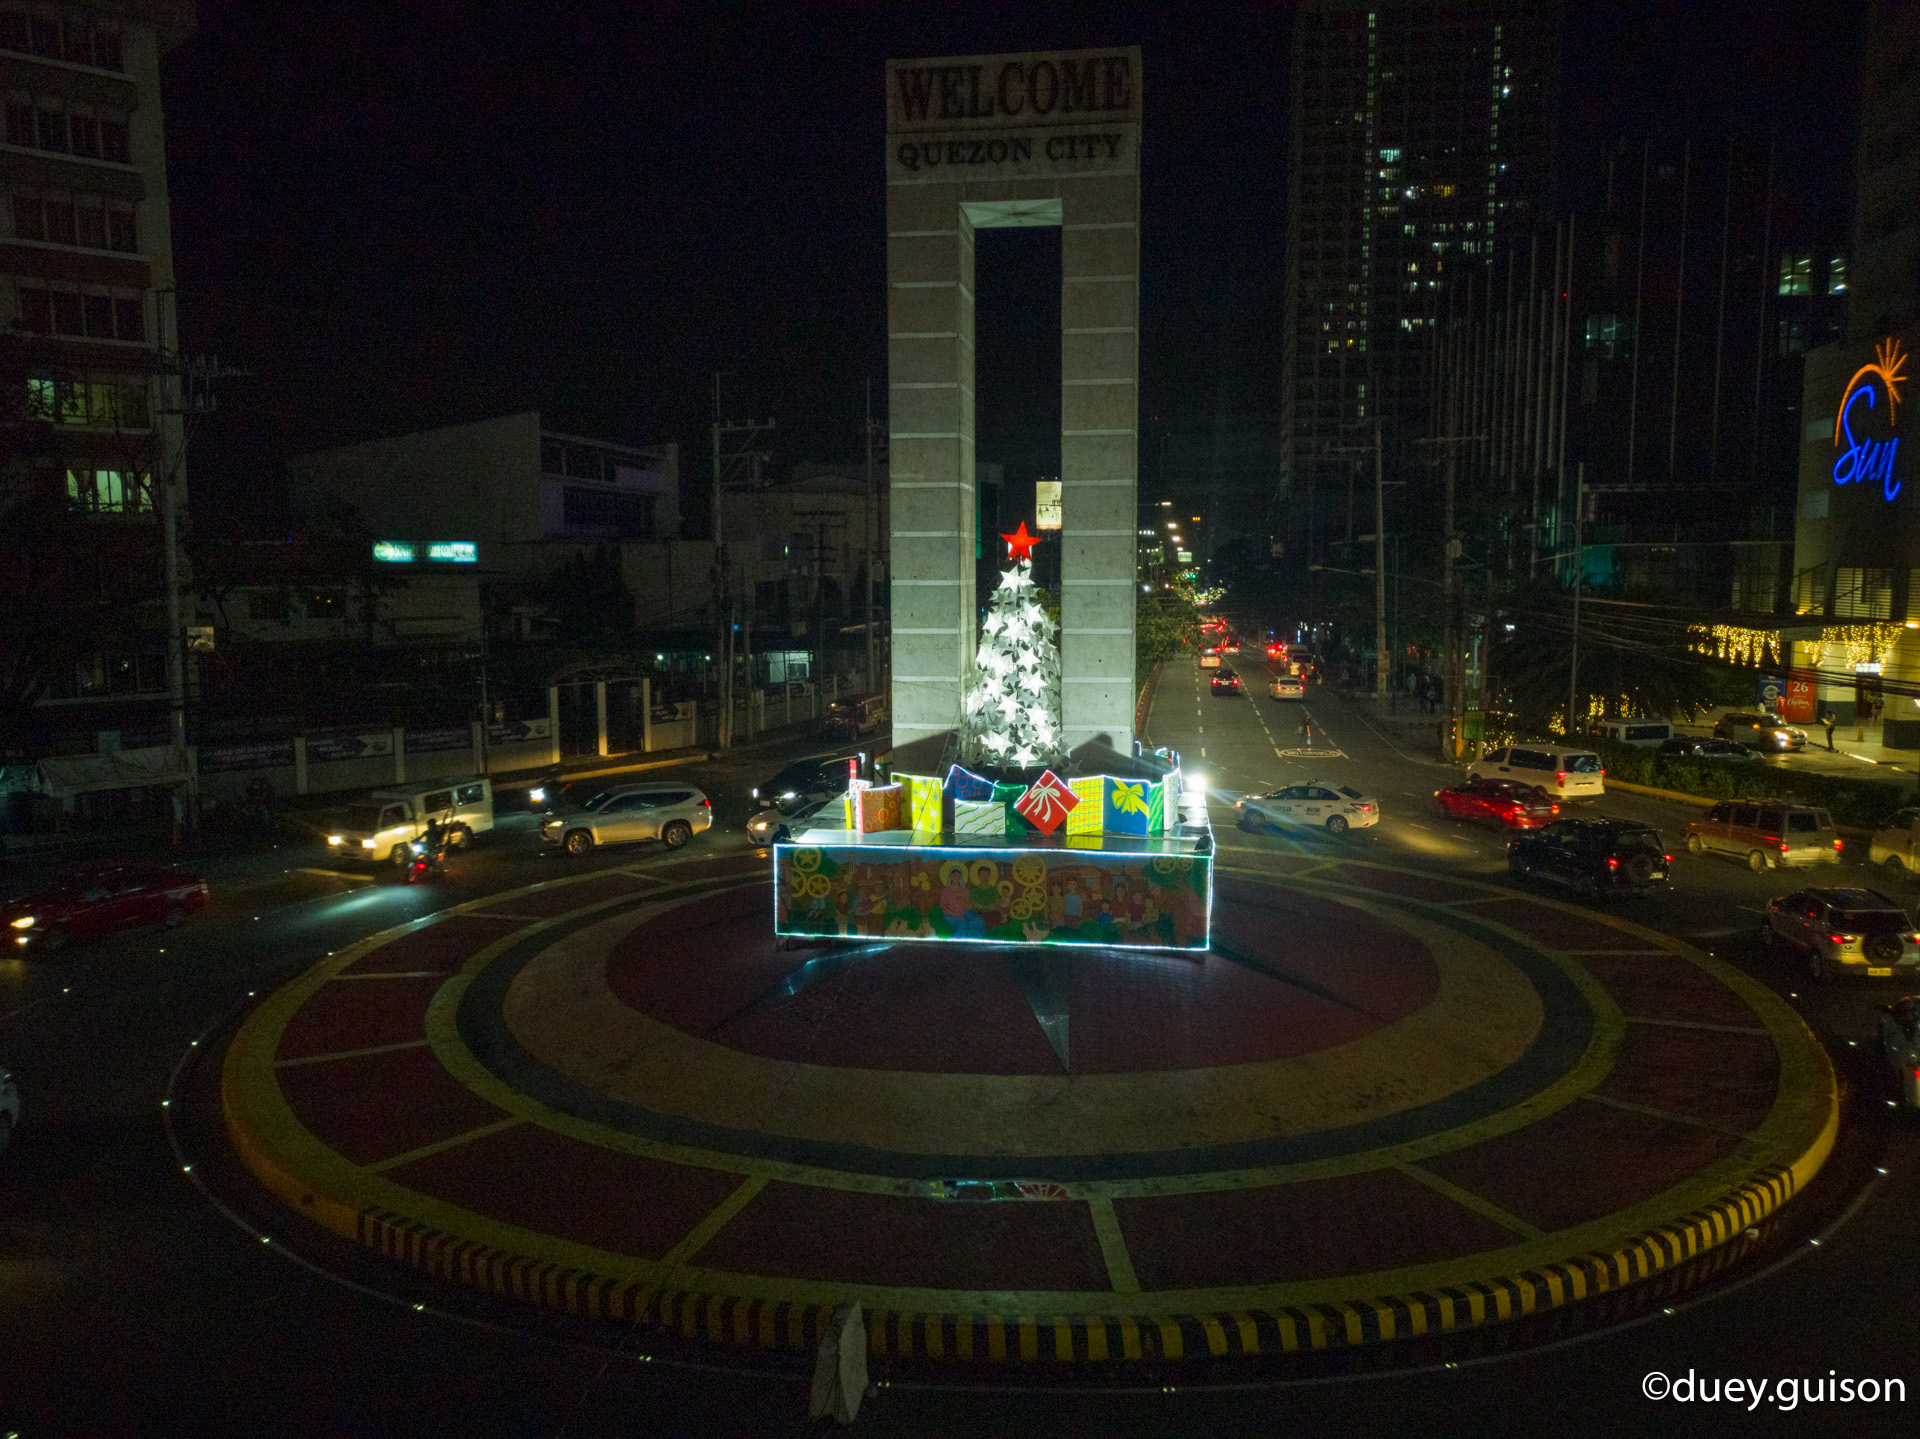
In our first example, we took this shot of Quezon Memorial Circle using the EOS R8 at ISO 5000. While the grain is still manageable, AI Denoise was able to fine-tune the image further, adding more details to the image on top of Lightroom Classic’s post-processing tools to produce a clean image that’s miles better than the computational photography done by smartphone cameras.


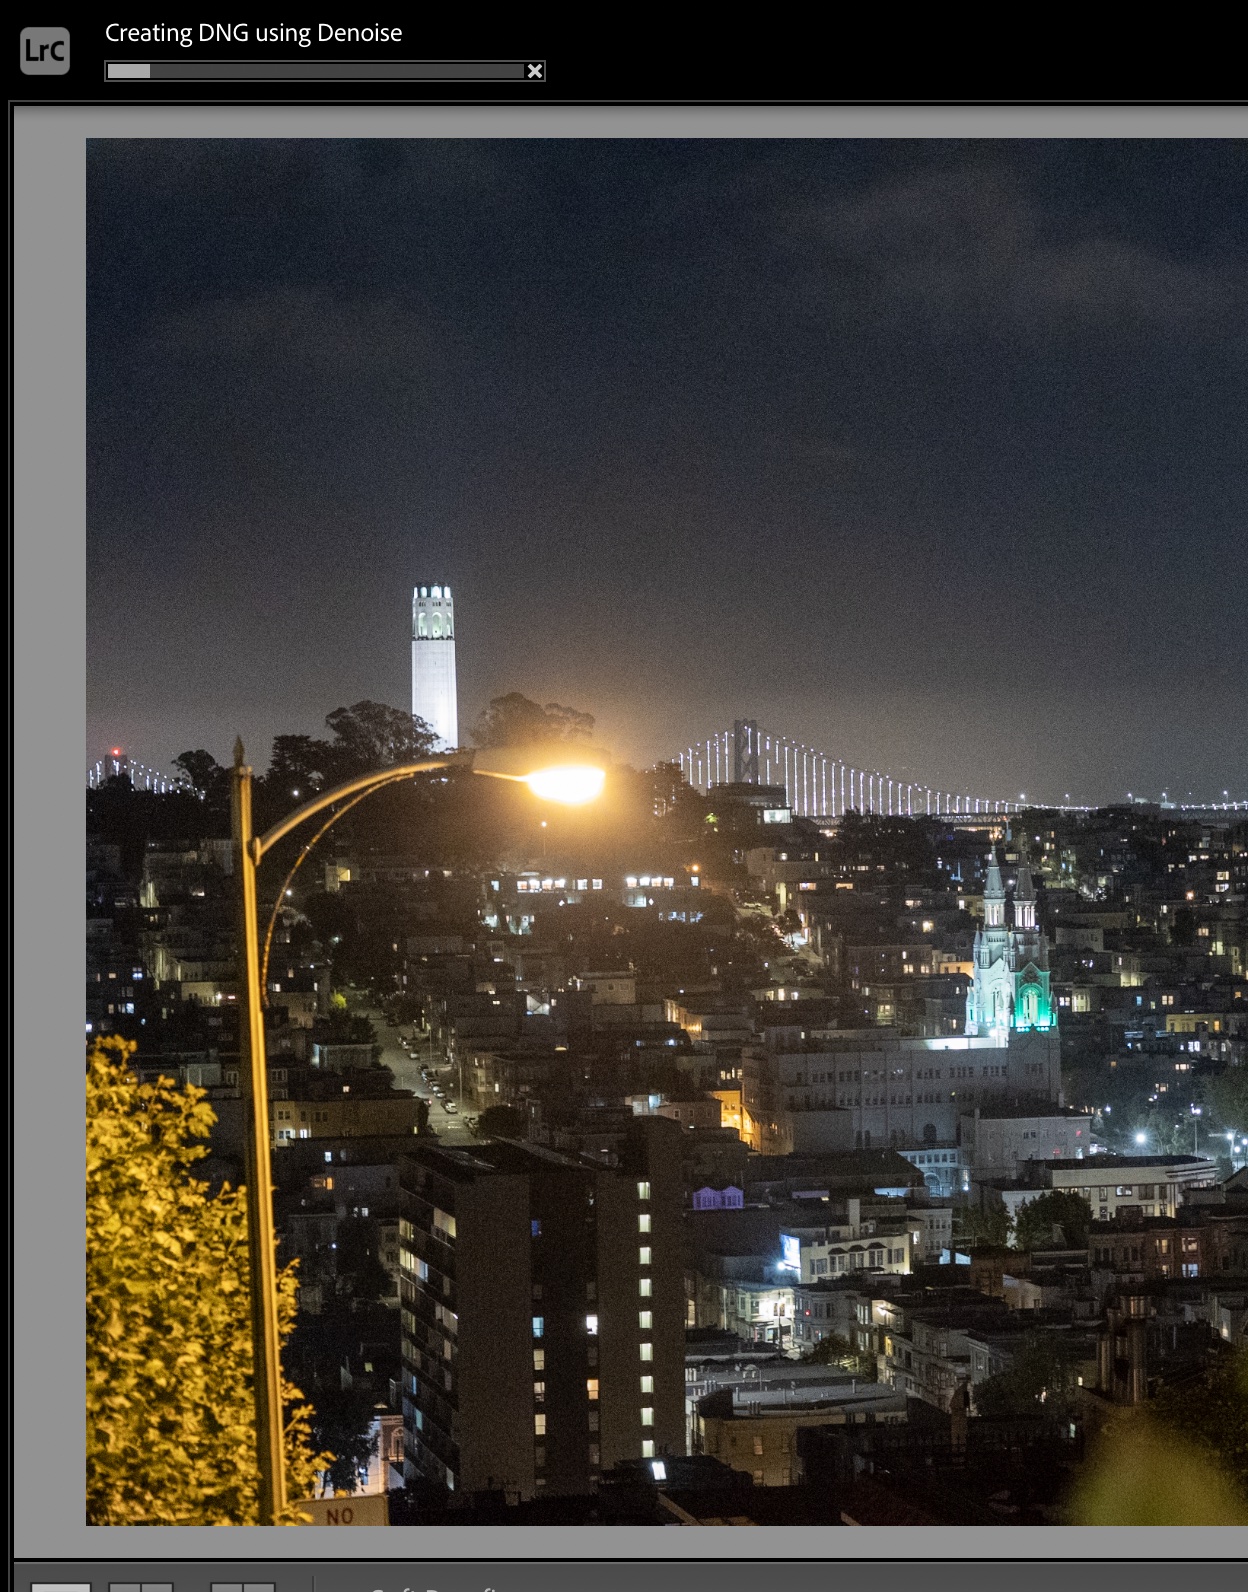
If you want an extreme use case, here’s an image I took on top of Lombard Street in San Francisco at night using the EOS R6 at ISO 16000. Photos shot at this ISO are expected to be grainy especially when zoomed in. With AI Denoise, Lightroom Classic was able to “save” this shot taken at a high ISO, making the final result appear to be shot at around the ISO 3200 to 5000 range.
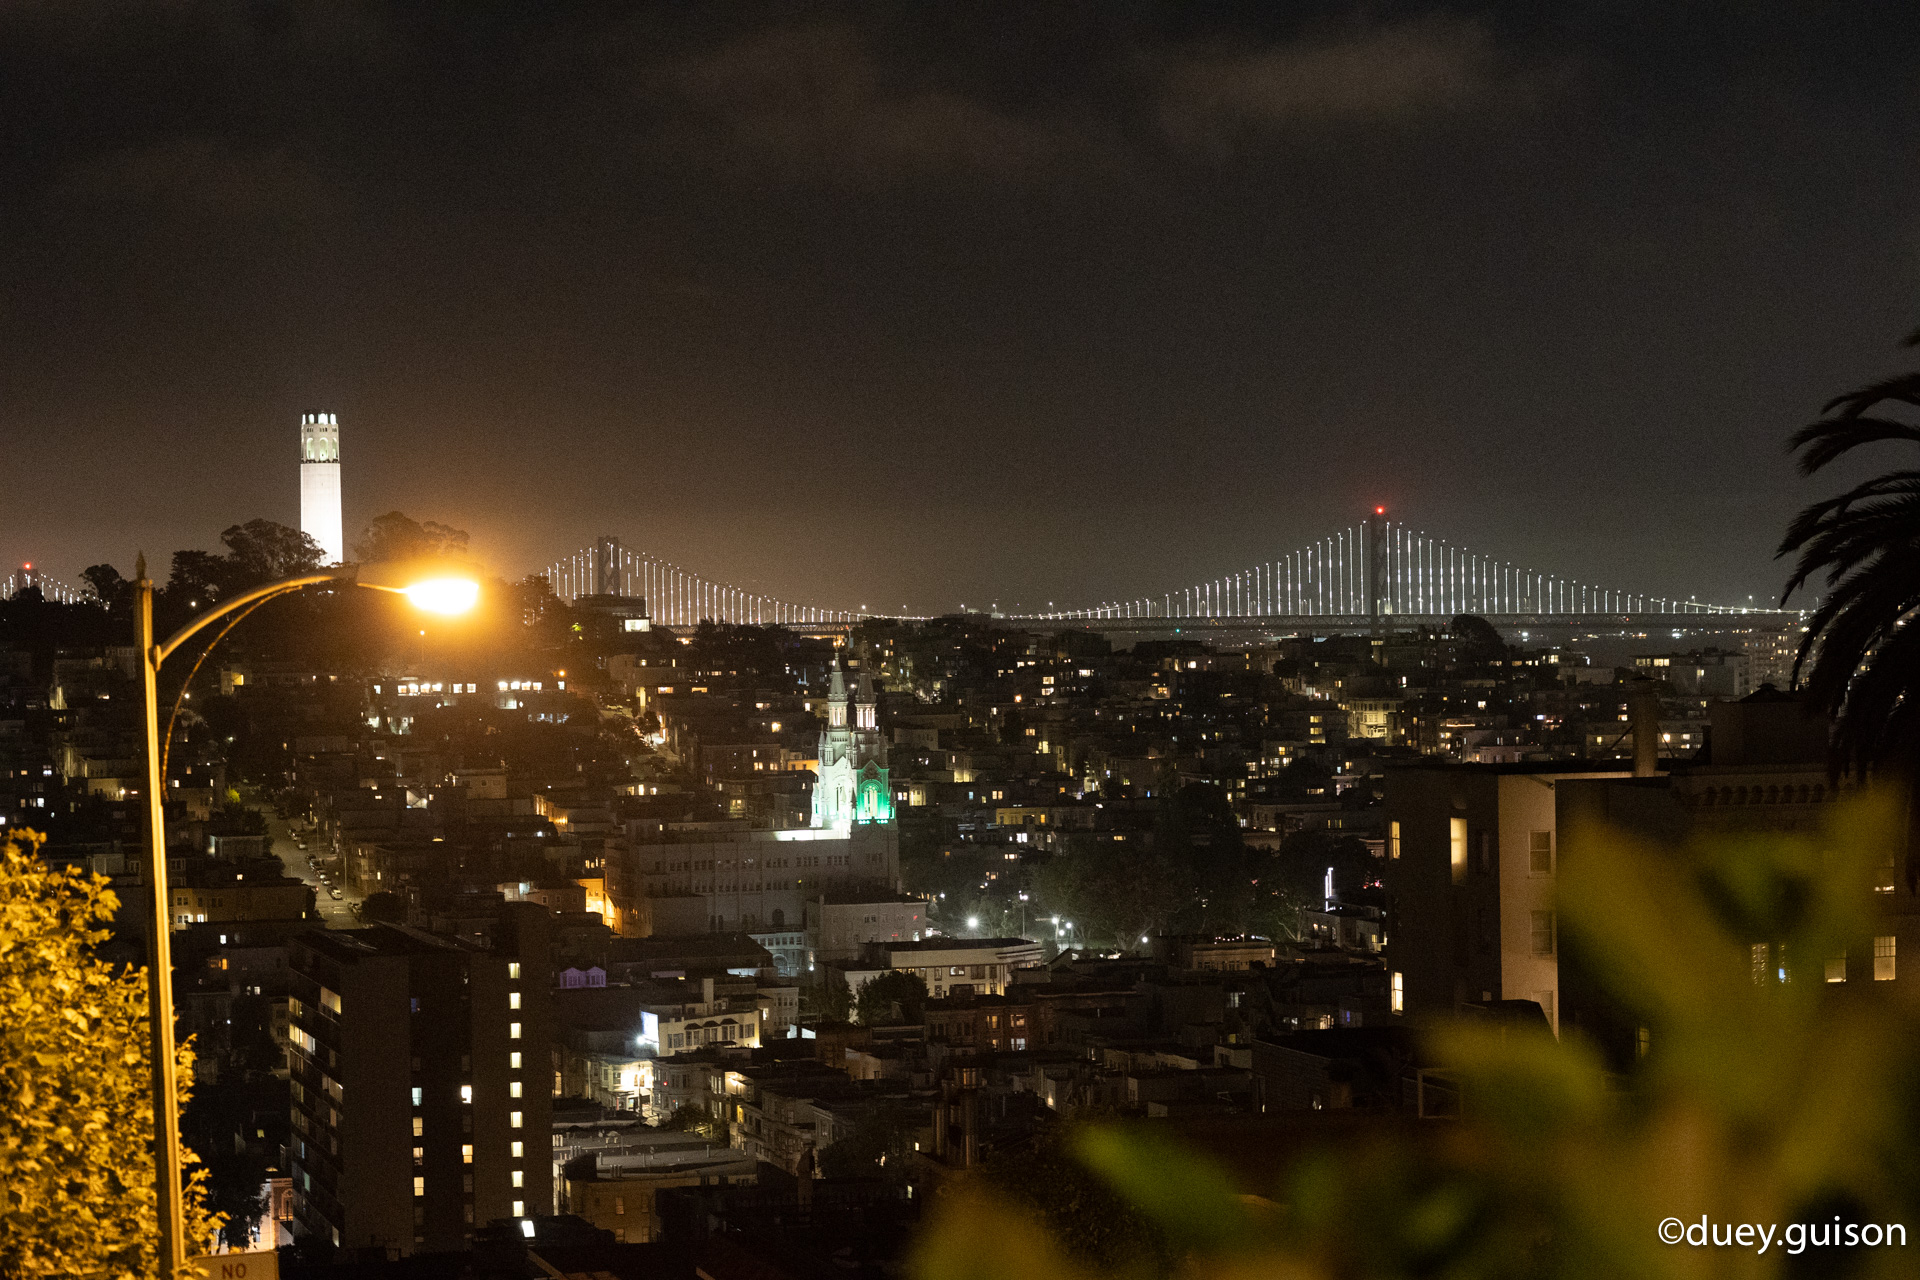
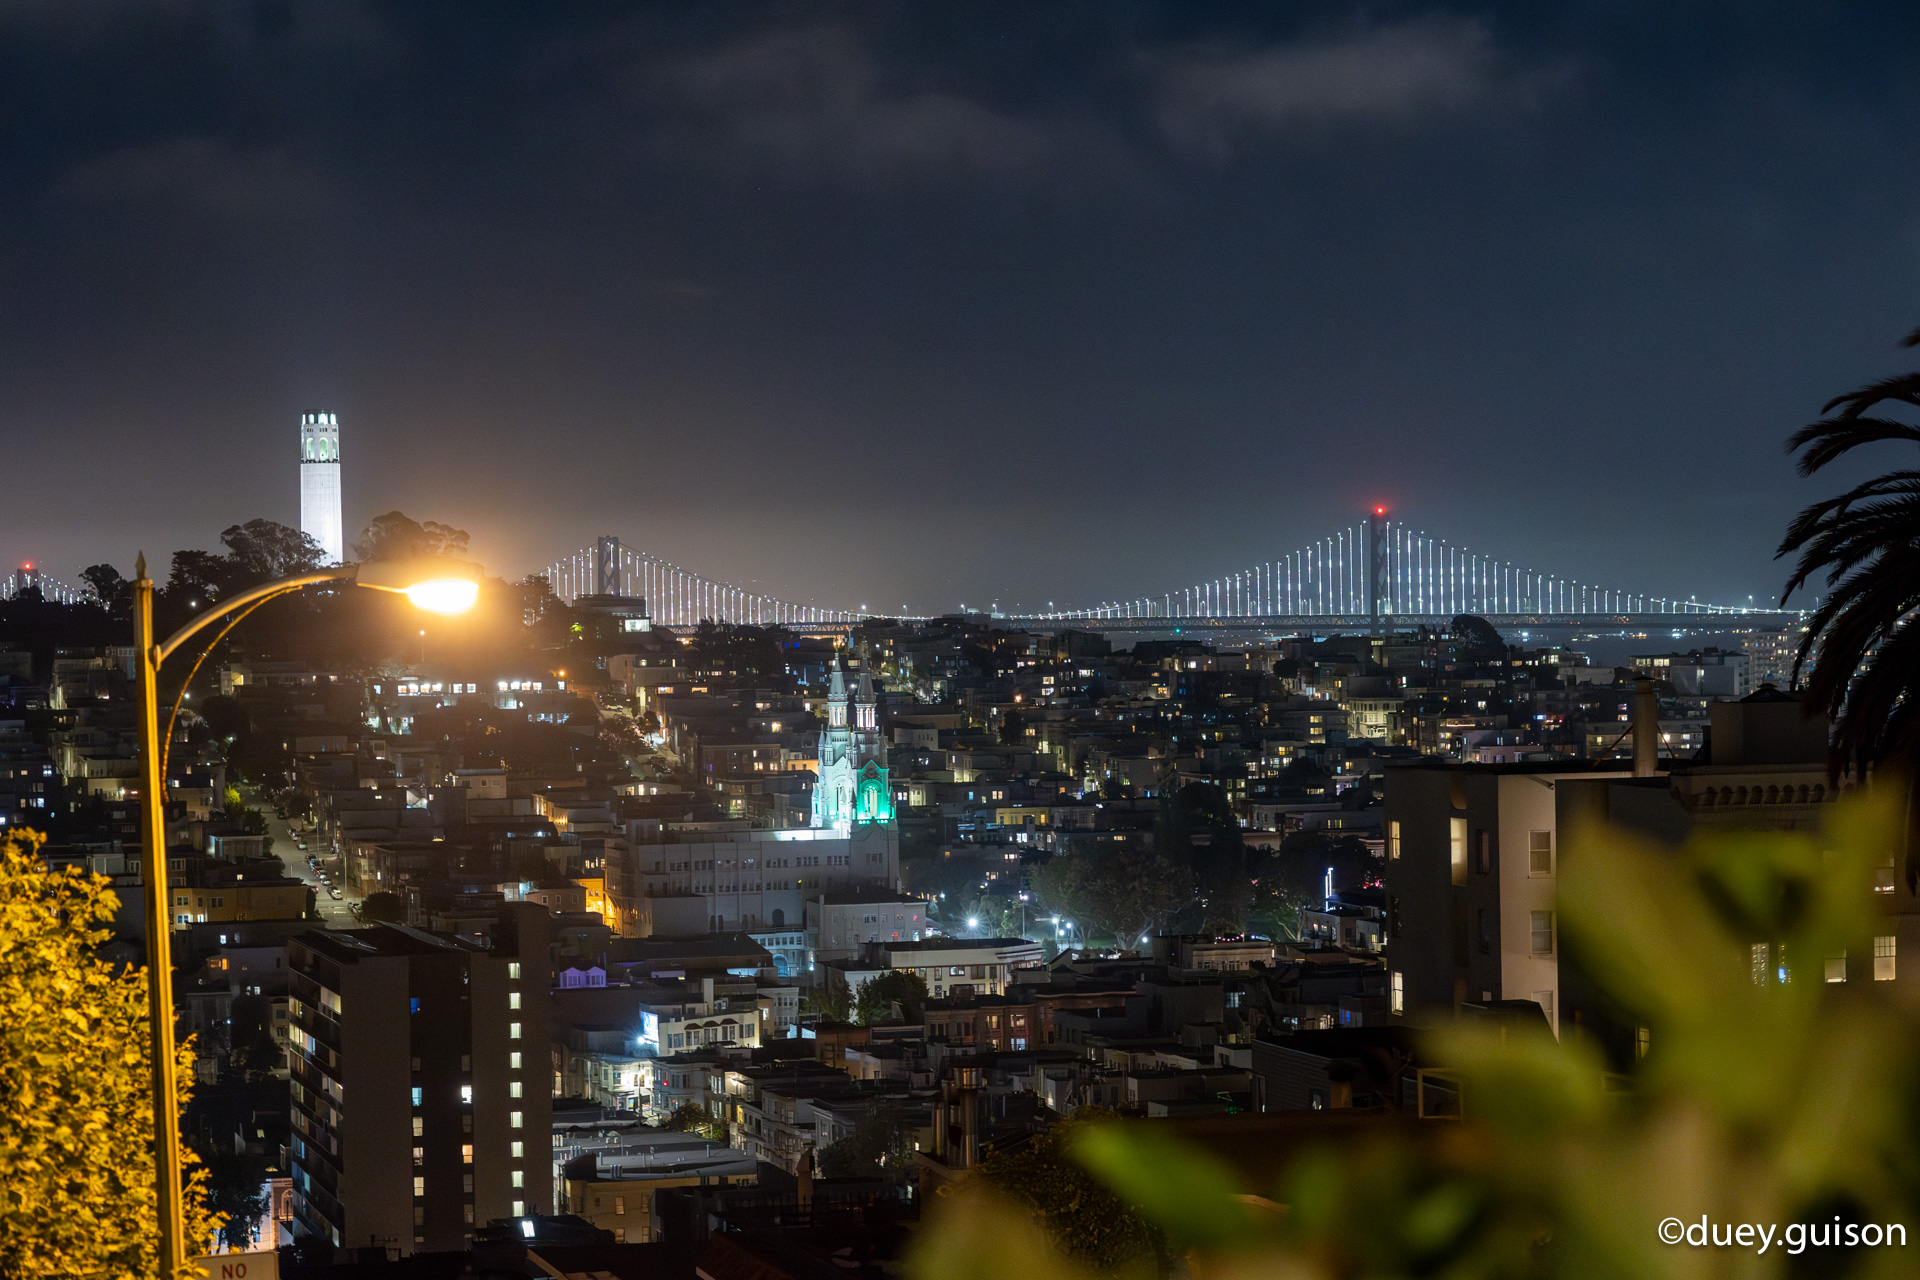
Zooming in on both images, you will notice how powerful Lightroom Classic’s AI Denoise tool is: it practically wiped out all of the noise found on the original image, and still came up with an image that has plenty of detail to show despite the very low light shooting conditions.
Can AI Denoise “Save” my Phone Camera Photos?
While we’re unsure if people would actually take a step further with their shots taken by their phones, but we gave AI Denoise a try nonetheless. For this example, we took an image taken on the Huawei P20 Pro–which is an old flagship from 2018. The initial image was very lacking in the shadows area, and while Lightroom Classic managed to recover them, the result was a lot of noise with the image. Applying AI Denoise rectified the issue, making the image look cleaner and at par with the performance of 2020 flagship phones.

How to use AI Denoise on Lightroom Classic?
Once you updated Lightroom Classic, follow these steps:
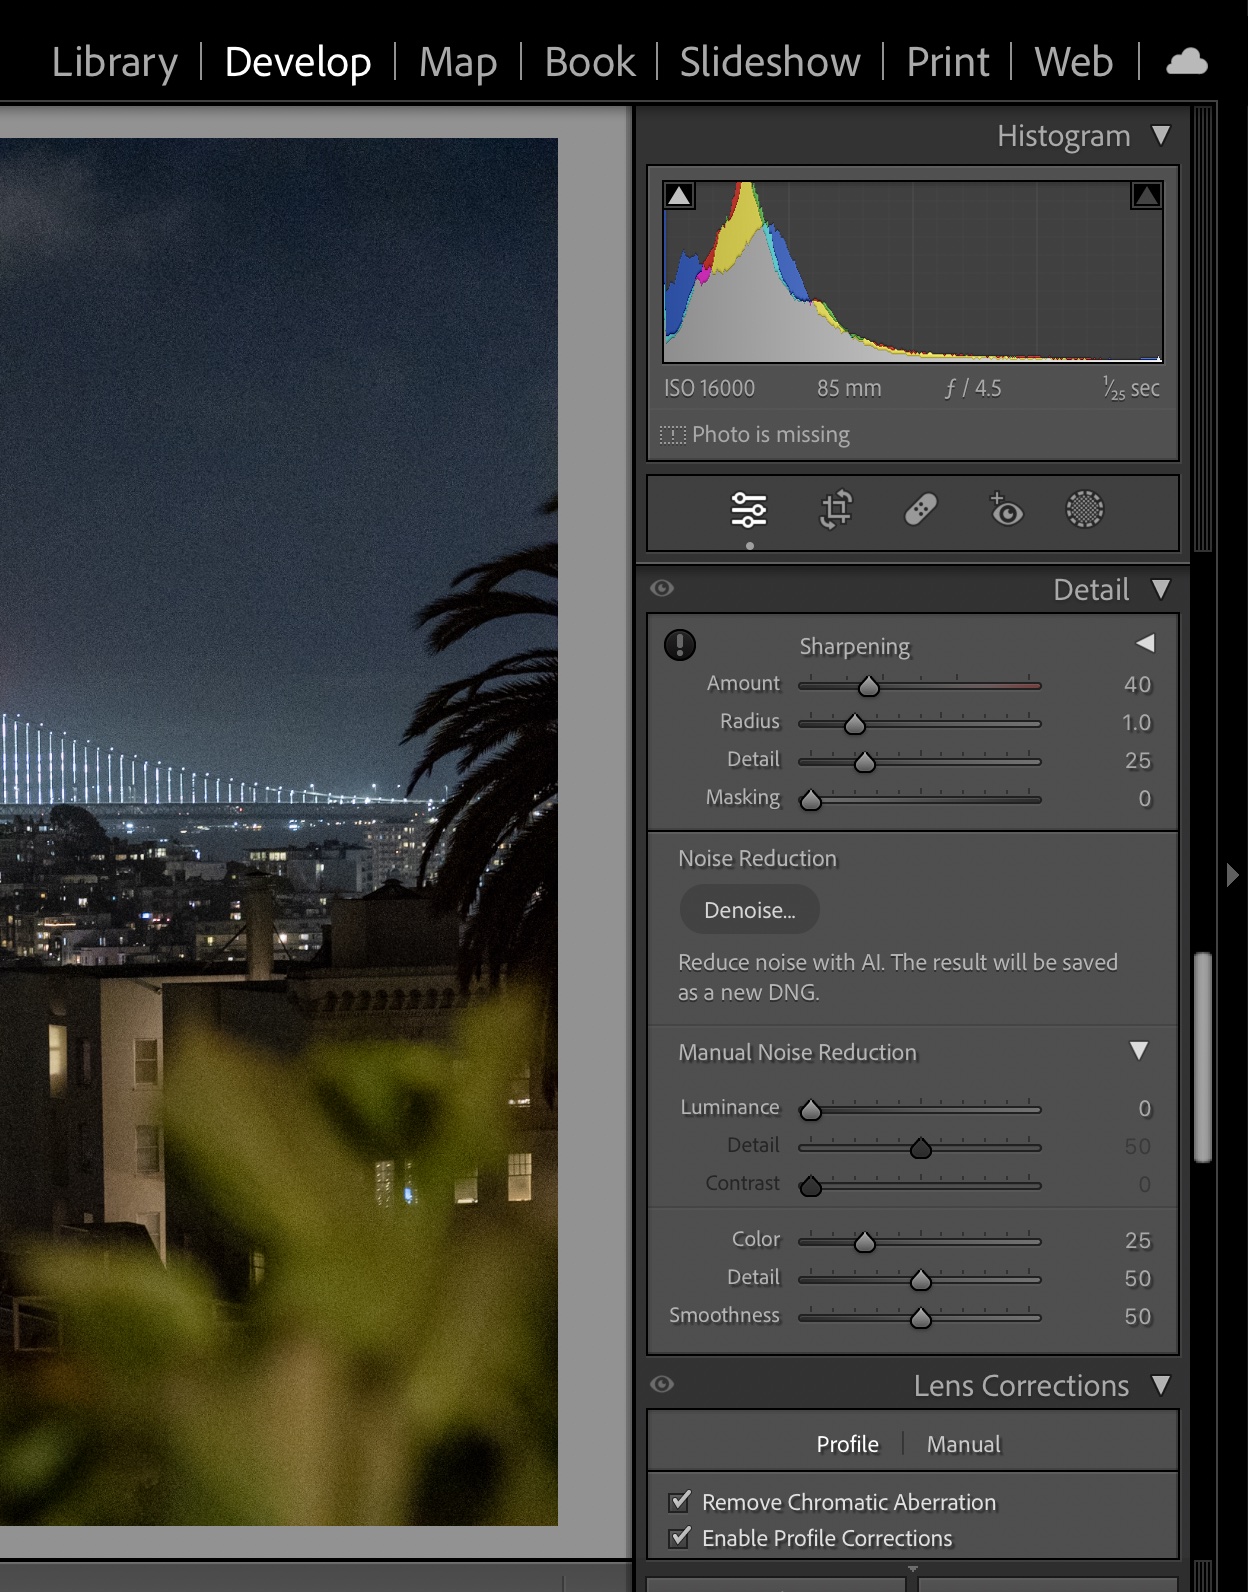
Go to Develop. Under the Develop tab, look for the Denoise option under the Detail subsection, right below Sharpening.
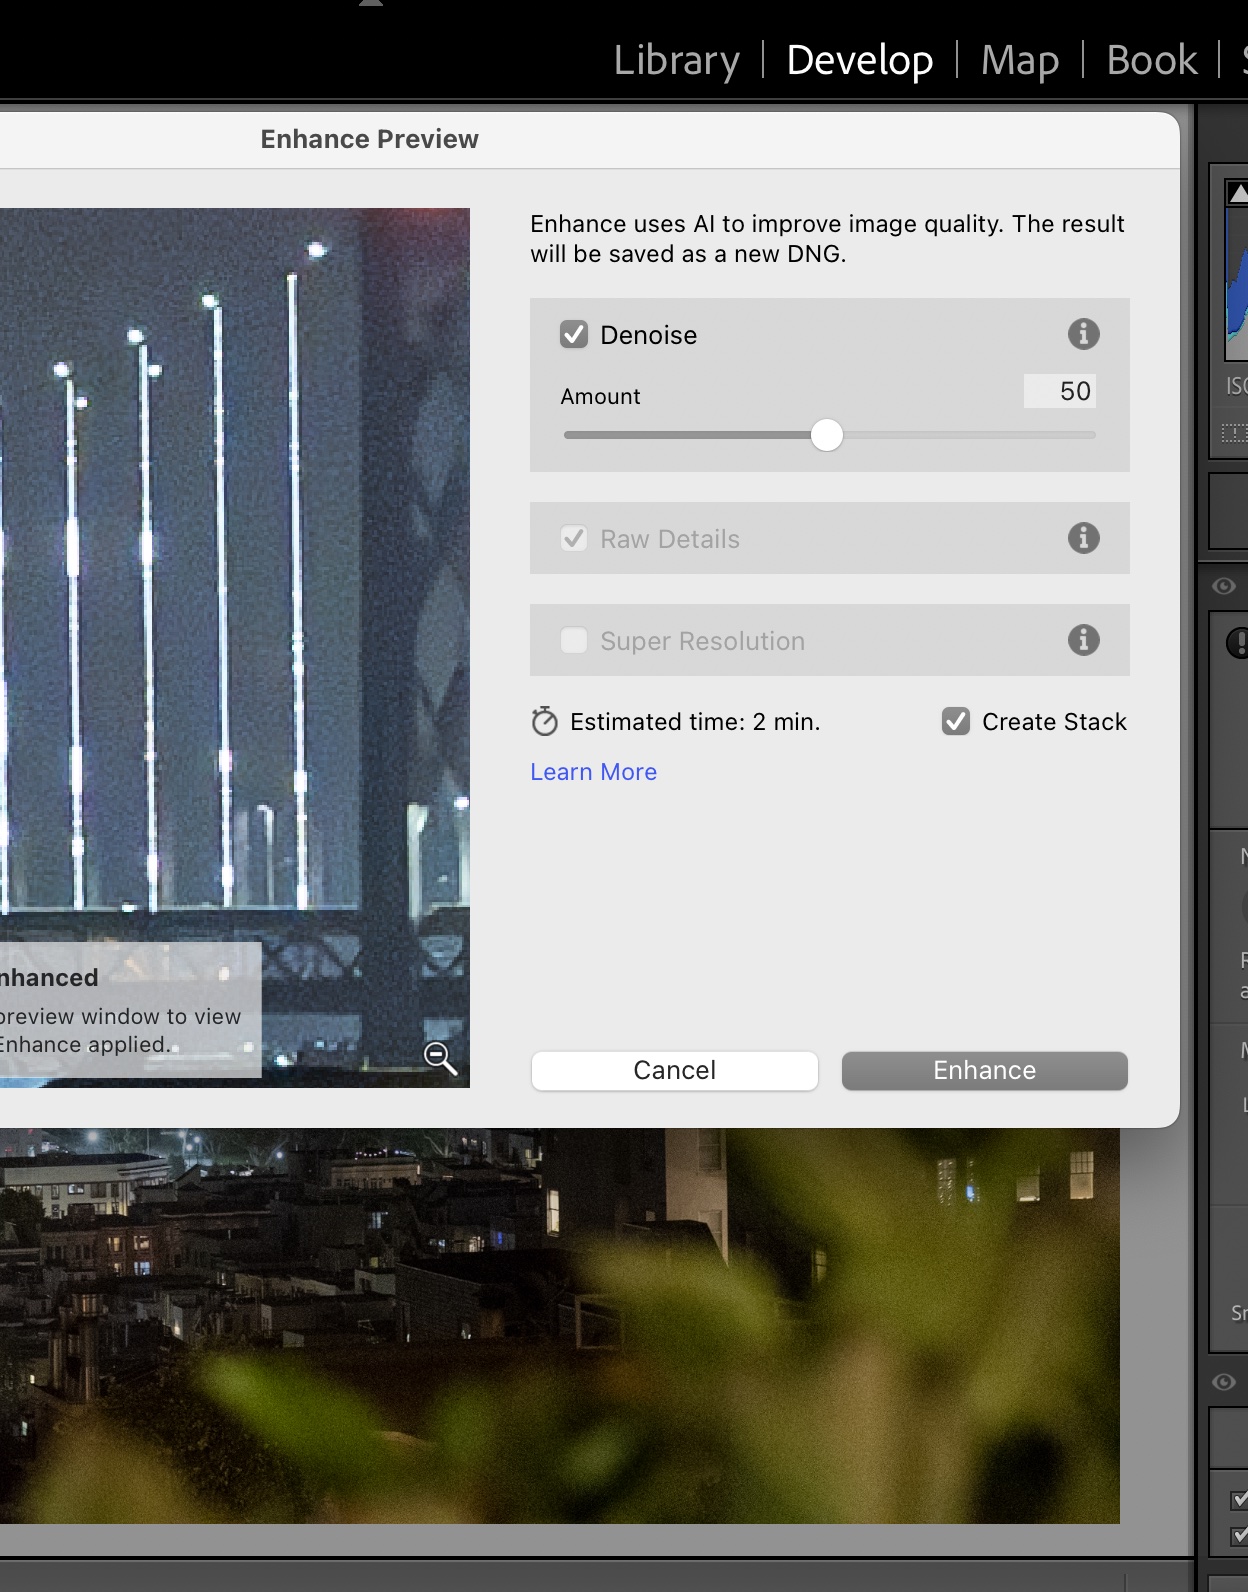
Tweak your denoise levels. You will be brought to the enhance preview section, where you can tweak the intensity of Denoise according to you liking. In our case the default 50% is already good enough for most needs.
Wait for the processing to finish. Once you click enhance, all you need to do is to sit and wait for the Denoise processing to finish. Depending on many factors like the complexity of the image and the computer you are using, Denoise takes around 2-5 minutes to finish. It takes that long partly because it makes a DNG file as the final output, preserving your original image in the process.
Are there any limitations with AI Denoise?
Based on our experience with it, you can practically use AI Denoise on any image–regardless if it was shot on a phone or on a camera. The limitation we saw is how long it takes to apply AI Denoise to the image. Before you try using this feature on Lightroom, it’s recommended that you use a powerful computer for faster render times–for our test, we used a MacBook Pro M1, though a computer with at least a 12th-gen Core i7 or Ryzen 5 6000 series processor should be good enough.