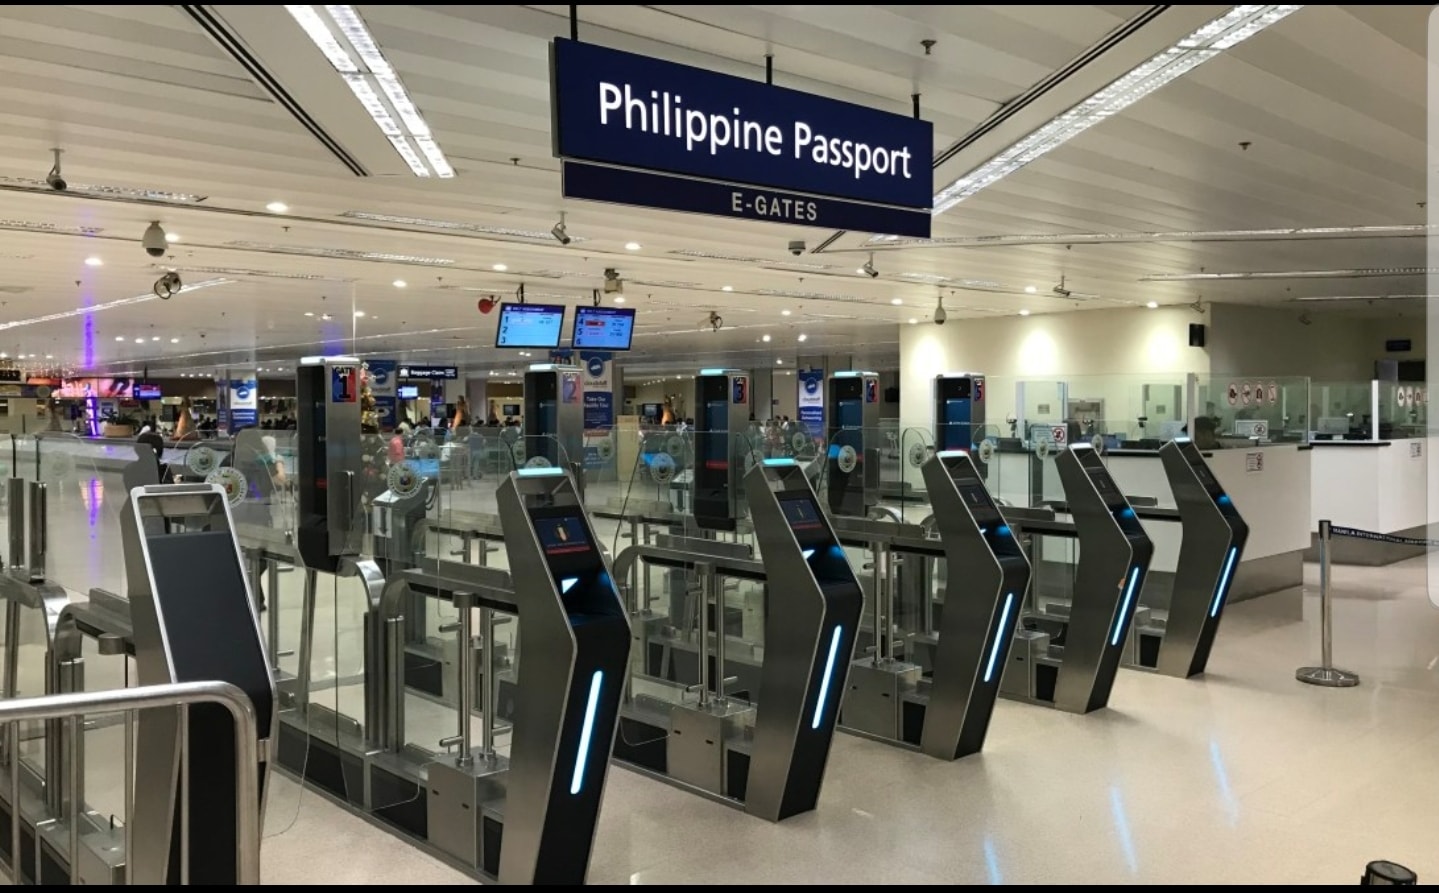
Nobody likes lining up at immigration counters especially when you’re on your way home and you just got off a long-ass, 15-hour flight. Thankfully Philippine passport holders can use several NAIA e-gates at Terminals 1, 2, and 3 that make re-entering the Philippines a breeze. Using them will help you get out of the long lines at the usual immigration counters that take forever to clear. Using them is so easy, there’s only 4 steps:

How to use NAIA E-gates
- Scan your arrival boarding pass
- Scan your passport
- Get your biometrics scanned
- Claim and affix arrival sticker in passport
Scan your arrival boarding pass
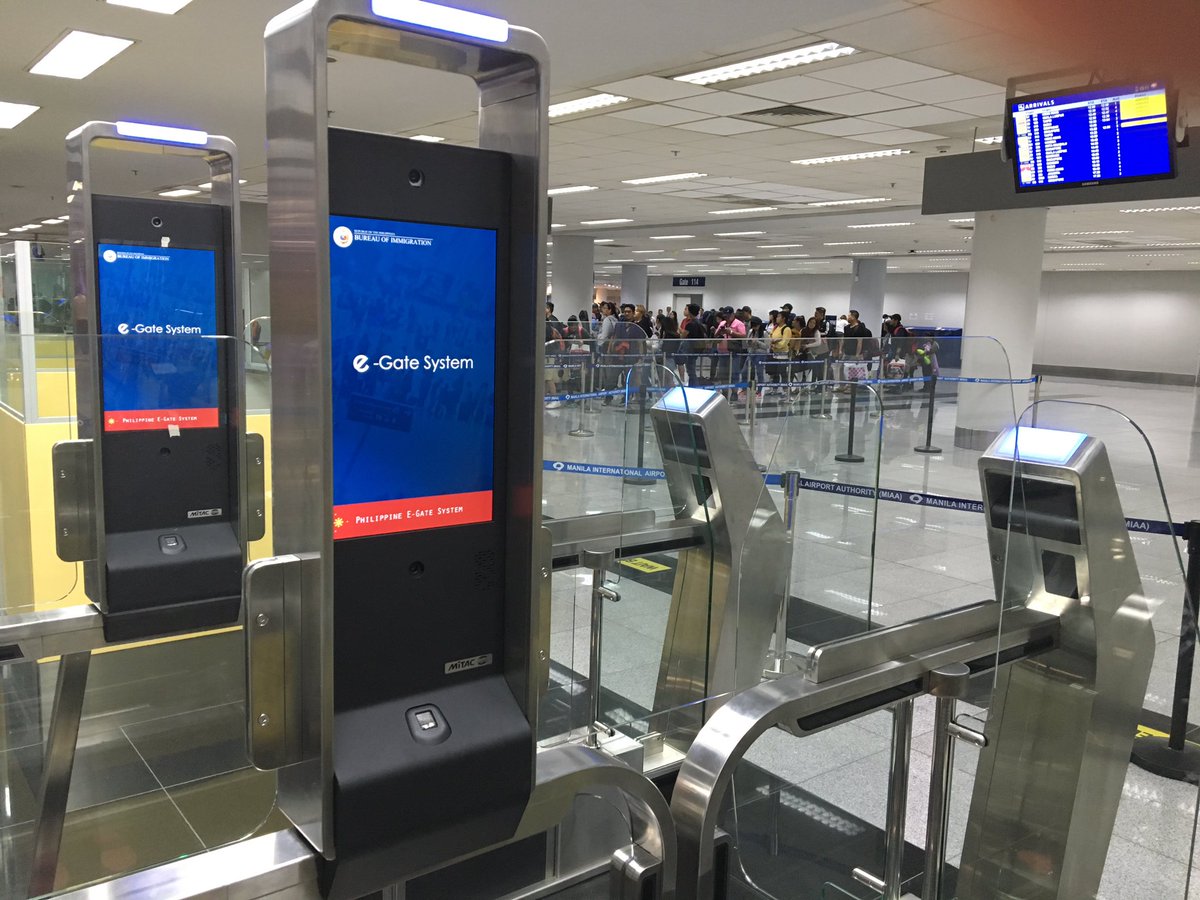
When you land, make sure to keep your arrival boarding pass with you. Don’t throw this away since this and your passport are required documents for you to to use with the E-gates. Once it’s your turn, make sure to scan your arrival boarding pass’ bar code on the upper left side of the E-gate’s document scanner. Press down firmly on the boarding pass to make sure the scanner has the best chance of reading your travel document. Wait for the e-gate to confirm that it’s done scanning your document.
Read more:
Short and Sweet: My Experience with NAIA’s New Immigration E-Gates
Scan your passport
Once the e-gate is done scanning your arrival boarding pass, it will instruct you to put in your passport into the same document reader that you used. Place the first page of your passport in the scanner, press firmly down so that the e-gate can properly read your details and wait for the e-gate to confirm it’s read your passport.
Get your biometrics scanned
Once your passport has been read, the first set of glass doors at the e-gate will open. Proceed to the marked area with the shoe prints and face the camera. Remove any face coverings you have (hat and/or mask) and face the camera to get your picture taken. Put your right index finger into the scanner below the camera until you are instructed to by the machine. Once all of your biometrics are done, the second set of glass doors will open.
Claim and affix arrival sticker in passport
You’re almost done! Once through the gate, a receipt with your arrival date and time will come out. You will need to put this in a blank space in your passport. It replaces the usual arrival stamp that you get pre-e-gates. If you did it right, you should be through the e-gates in less than 5 minutes. Enjoy all that time you saved waiting for your baggage to come out later than usual!