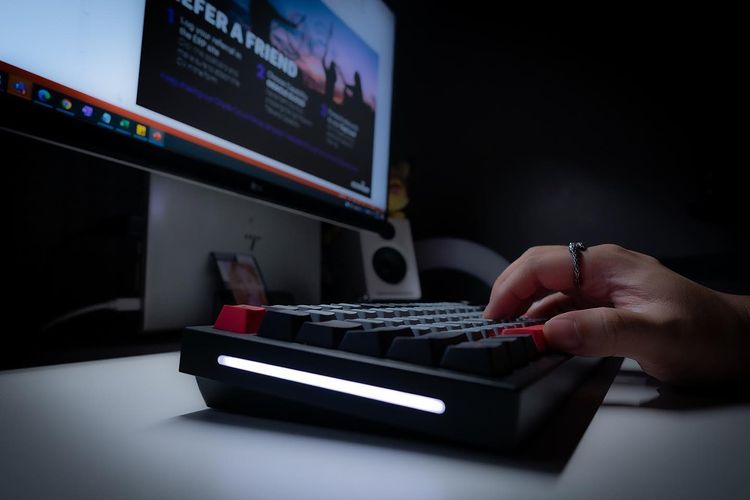
One of the effects of people resorting to a WFH setup is them investing on peripherals to improve their setup for both work and play. Keyboards are one of the more important peripherals in a good WFH setup, with some even going the extra mile by having a custom keyboard. Those who go the custom mechanical keyboard route would invest time, money, and patience in building a keyboard that suits their wants and needs–something a pre-built keyboard cannot offer.
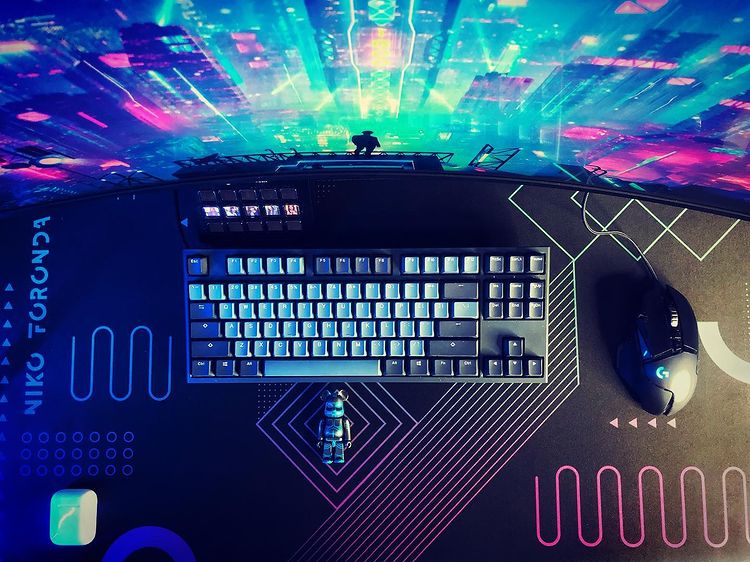
For this guide, we talked to Niko Foronda, someone whose been building custom mechanical keyboards for a long time to see what hoops you need to go through to build your own custom mechanical keyboard in the Philippines without breaking the bank.
How to Assemble your Own Mechanical Keyboard in the Philippines
- Know what build you prefer
- Source the parts you need
- Test your keyboard PCB
- Prepare all the parts
- Start by installing the stabilizers
- Install your switches one by one
- Install the PCB into the case and add keycaps
- Try out your newly-built keyboard
Know what build you prefer. As we explained in our previous article, there are many keyboard types to choose from, and it all boils down to what type of board fits your needs. Do you want a compact setup like a TKL or a 65% keyboard layout? Do you need a number pad (for those number-crunching tasks)? How do you want your keyboard to “sound” based on your switches? What other features (ie. RGB lighting, Bluetooth, programmable hotkeys, knobs) do you need? And most importantly: how much are you willing to spend?
The latter is crucial in any build because building keyboards can be an expensive hobby, with some builds costing upwards of Php 20,000. “This hobby can really burn through your wallet if you’re not responsible with your finances,” Niko shares.
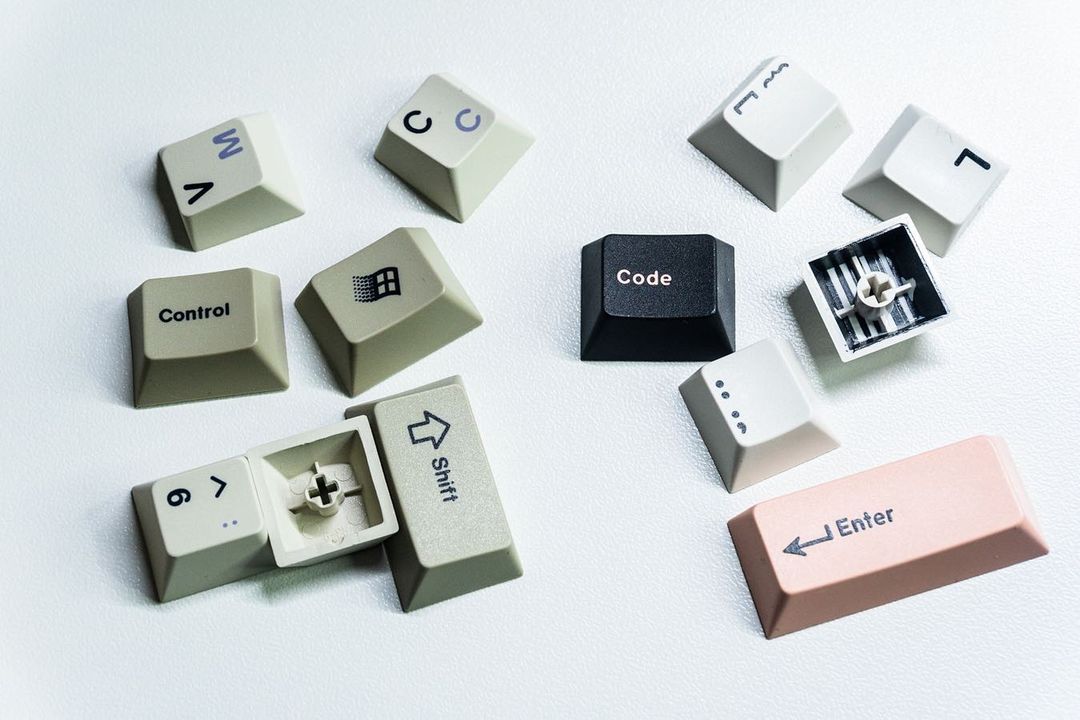
Source the parts you need. Key components that you will need are the keyboard PCB, keyboard case, stabilizers, keyboard plate, switches, keycaps, and a USB cable. The price of these components may vary and can be very expensive due to limited availability and long waiting times.
One example of expensive components would be keycaps, where Niko explains that these parts can range anywhere from $200 to $1000 depending on rarity. Speaking of keycaps, Niko adds that they play an important role in any builds when it comes to the “sound” of your keyboard.
If you don’t want to spend ludicrous amounts as much as possible Niko suggests that one should join Group Buys and avoid buying aftermarket. “it’s basically the community’s term of taking orders for the parts that you need, then you have to pay for it already, and then wait for the product to be manufactured,” Niko explains. Given the limited availability of some parts, patience does play a big role in being able to get your desired parts.
Locally, top places to buy modding materials would be JMK, while Zion Studios PH is a highly recommended place to buy keyboard kits, switches, and accessories. If you are into sourcing parts outside of the Philippines, you should give the subreddit r/mechmarket a check.
Test your keyboard PCB. Even if you are buying brand new parts for your build, it’s important to ensure that they are working properly. This is highly important with the PCB you are getting, as you don’t want to get stuck with a build that has non-functioning keys.
For this step, you will need a USB connection, a pair of tweezers, and switch testing software like Switch Hitter or VIA (if it’s compatible with your PCB). Switch and Click has a good explanation of how to do this part.
This part may add a few minutes to your build time, but consider it important so that you have peace of mind that you did not receive any lemon components.
Prepare all the parts. Once you have the tools and parts you need to start your build, you can start doing additional preps on the individual components. These include filming, modding stabilizers, and lubing both the switches and stabilizers. While switches are usually pre-lubed, some builders would redo the lubing to suit their needs. Do remember that this step is optional and is entirely up to you.
“For stabilizers, it is highly recommended to lube them in order to avoid the rattling sound it produces caused by the wire and the housing holding it in place,” Niko explains, adding that lubing switches is a matter of one’s preference with their builds.

Start by installing the stabilizers. After all the parts have been prepped, you can start building your own keyboard. It’s highly recommended to have a large desk space and a large desk mat to keep yourself organized when putting the pieces together.
The assembly starts off by placing the stabilizers, and ensuring that they are properly aligned into the PCB. Once they are installed, you can install the keyboard plate. While it’s optional, it’s highly recommended to install one to give added rigidity to your build.
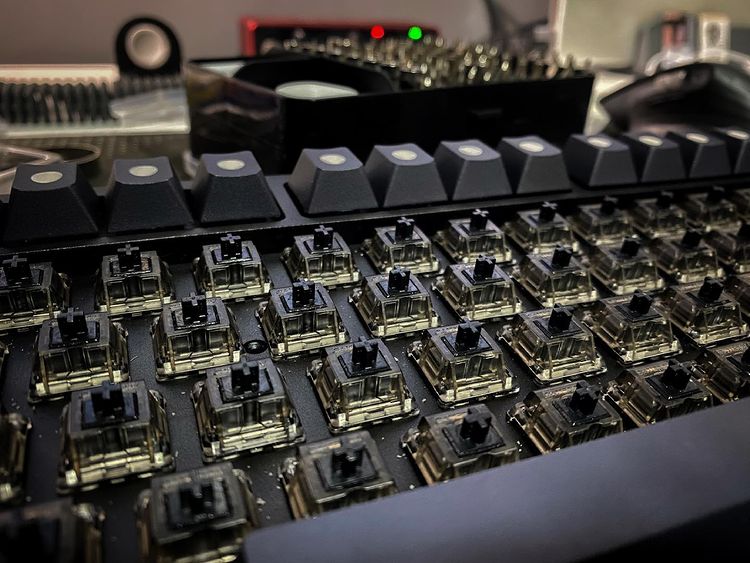
Install your switches one by one. With the stabilizers installed and properly aligned, you start installing your switches one by one. If you are using a non-hot-swap board, you will need to solder each switch. In most cases, soldering is usually done with switches—but Niko adds that some keyboard kits will allow you to do deeper customizations like adding resistors, diodes, ICs, and more.
If you are using a hot-swap board, installing the switches is as easy as installing Lego bricks. A hot-swap board is good if you plan to change switches in the future.
Install the PCB into the case and add keycaps. Once all of the switches are installed, you can place your built PCB into the case and start placing those keycaps.
Depending on the board you are using, the whole assembly process does take a while. Niko explains that on average, it takes 1-2 hours to completely build a hot-swap keyboard, and 2-3 hours for a non-hot-swap keyboard that requires soldering.
Try out your newly-built keyboard. Now that your mechanical keyboard has come to life, it’s time to give it a test. This is done by doing typing tests with it. From here, you should be able to gauge if the keys are tactile and clicky to your liking. If not, you’ll need to disassemble your build and do fine-tuning.
At this point, you can also test the additional features of your build like Bluetooth connectivity, key mapping, RGB lighting, and more to ensure everything’s working as it should be.
That wraps up all the things you need to know before you start to assemble your own mechanical keyboard in the Philippines. Are you excited for your first build?
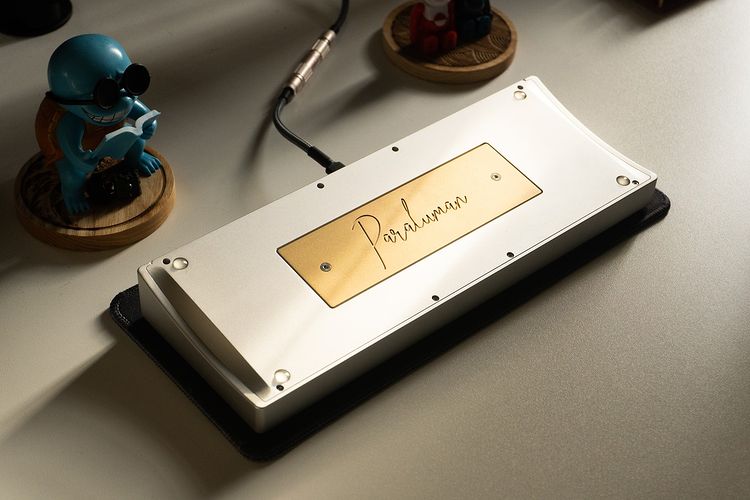
*all photos from Niko Foronda.